Design decisions get more expensive the later you make them
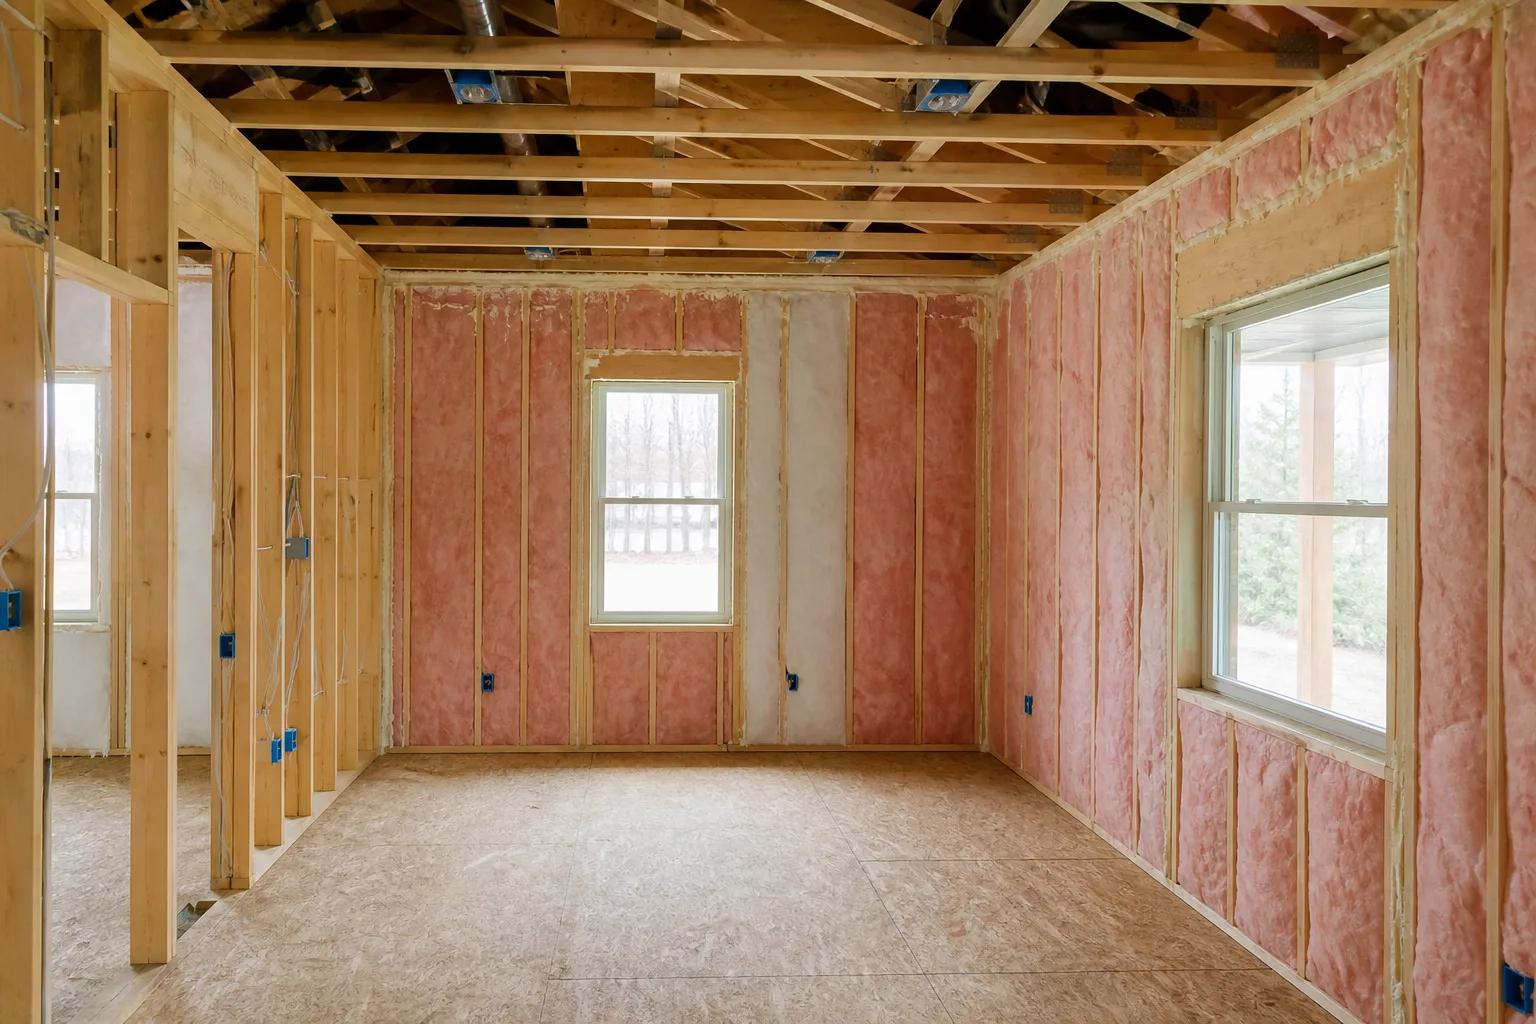
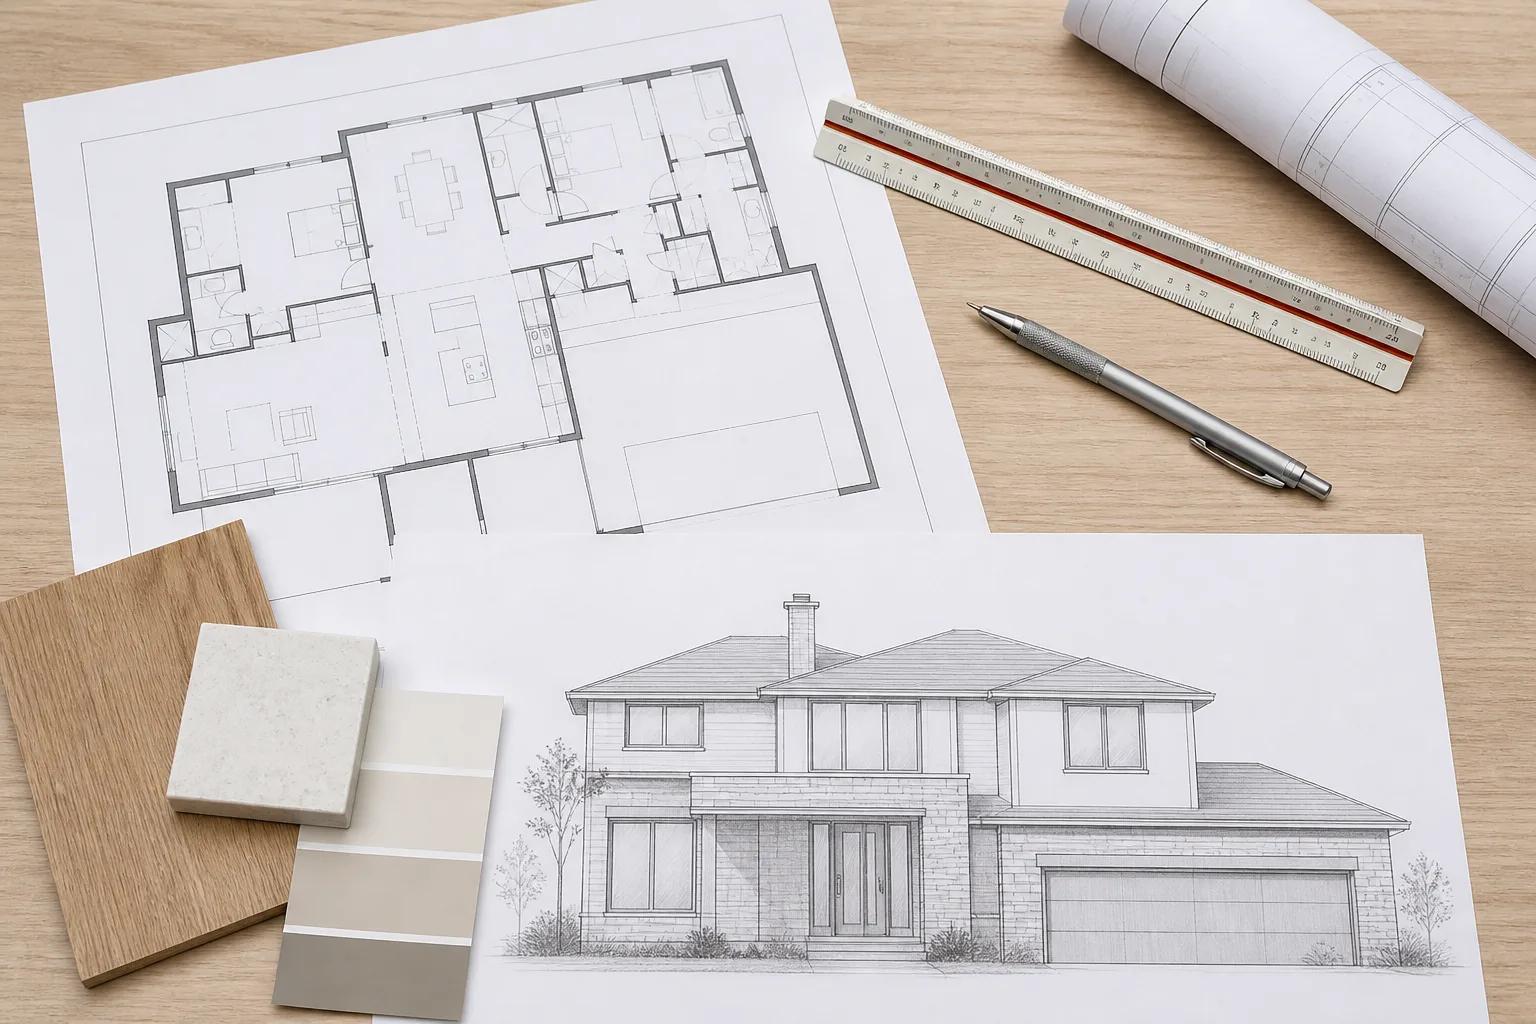
A design decision is cheap while it is still on paper, expensive once the house is framed, and effectively impossible after drywall, so the discipline of designing a custom home is making the hard-to-reverse decisions first. Moving a wall on a drawing costs drafting time. Moving the same wall after framing costs demolition, a revised structural design, rerouted mechanical and electrical work, a plan revision through Ada or Canyon County, and weeks of schedule. Moving it after drywall costs all of that plus finishes you already paid for. Meanwhile the decisions people agonise over first, like cabinet colour and tile, are the last that have to be locked and the cheapest to change. Sequence it the other way round and you spend the front half of the build choosing faucets and the back half paying for change orders.
| Decision | Schematic design | Permit set | After framing | After drywall |
|---|---|---|---|---|
| Footprint and room layout | Free | Drafting time | Demolition and structural revision | Not realistic |
| Storey count | Free | Redesign | No | No |
| Roof form and pitch | Free | Drafting and engineering | Very expensive | No |
| Ceiling heights | Free | Drafting time | Framing rework | No |
| Window size and placement | Free | Drafting time | Reframing and delay | Very expensive |
| Plumbing fixture locations | Free | Low | Moderate, higher over a slab | Expensive |
| Duct routing and equipment size | Free | Low | Difficult, plan already fixed | Impractical |
| Insulation and air sealing | Free | Low | Last chance, still reasonable | Permanent |
| Electrical and lighting layout | Free | Free | Cheap, the right moment | Expensive |
| Cabinet layout | Free | Free | Cheap if not yet ordered | Costly and slow |
| Tile, paint, hardware, fixtures | Free | Free | Free | Moderate |
| Appliances and light fittings | Free | Free | Free | Low, for decades |
Read that as a spending plan for your attention. The top half deserves months of thought. The bottom half deserves a deadline. For how these stages line up against the build calendar, see the Boise home building process.
Start with the lot, not the plan
The parcel decides more about your floor plan than any preference you bring to the first meeting, so the design sequence starts with reading the lot. Four things drive the layout. Sun, because in this valley the problem elevation is the west, where the low August afternoon sun comes in under any practical overhang and overheats a great room, while south glass gives useful winter heat and is easy to shade. Slope, because a real grade often makes a daylight basement cheaper than flattening the site into a single-level pad, and because foothills sites bring access, geotechnical requirements, and wildland-urban interface considerations that shape the footprint. Views, because taking one usually means orienting glass in a direction the sun did not choose, and that gets paid for in glazing and shading. And the buildable envelope, the rectangle left after setbacks and lot coverage limits are applied, which routinely eliminates one of the plans a client is considering before cost enters the conversation. On rural parcels the well, the septic drainfield, and the driveway take ground too, and the drainfield cannot be built over. Get all of this drawn on your parcel before you commission a plan. Our lot evaluation checklist lists what we look at, a written evaluation runs $950 to $3,500, and buying land to build on here covers the purchase side.
Programming: work out how the household actually lives
Before anyone draws a room, write down how your household actually spends a day, because a bedroom count is a poor description of a house. Programming is the part clients most often skip and most often regret skipping, and it means answering concrete questions. Where does everyone land when they come in the door, and what are they carrying. Who cooks, alone or with company, and does anyone eat at a counter. How many people work from home, and do two of them ever take a call at once. Where does laundry get sorted, folded, and left. Who visits, and for how long. What do you own that needs storing, and be specific, because a boat and a bike rack need dimensions rather than good intentions. What changes in twenty years. The output is a list of spaces with sizes and adjacencies, which beats a wish list because it tells a designer why a room exists rather than only that it does. Almost every plan we redraw more than twice was drawn before this conversation happened. The specific layout patterns that come out of it here are in floor plan ideas that work in Treasure Valley homes.
Size drives cost harder than finish level does
At a fixed budget, a smaller and better-detailed house usually beats a larger plain one, because square footage carries every trade with it and finish level does not. Custom homes here run $250 to $400 per finished square foot excluding land, which means a 2,400 square foot house lands between $600,000 and $960,000. Semi-custom runs $225 to $300 per finished square foot, so a 2,000 square foot semi-custom home lands between $450,000 and $600,000. Every additional 100 square feet costs $25,000 to $40,000 in the custom band, and that money buys foundation, framing, roof, insulation, drywall, flooring, trim, paint, and mechanical load all at once. The same $25,000 on a house 100 square feet smaller buys a better kitchen, a serious step up in window quality, or a covered patio you use eight months a year. A house 200 square feet smaller with a proper mudroom, a kitchen that works, and real storage lives better than one with a formal dining room used four times a year. Square footage also keeps costing money after handover, through heating, cooling, cleaning, insurance, and property tax. For the full cost picture, see the Boise home building cost guide.
Plan complexity and roof lines are silent cost multipliers
Two houses of identical square footage can differ by a hundred dollars a square foot purely because one has a complicated shape and the other does not. It never appears as a line item, which is why it surprises people. Every jog in the wall adds corners, and corners are slow: extra framing, extra flashing, extra siding cuts, extra trim, extra caulk joints, and extra places for water to find a way in. Every gable, valley, dormer, and change in roof pitch adds framing complexity, more flashing, and more labour per square foot of roof covered. A cantilever or a bumped-out nook costs far more per square foot than the plain wall it replaces. Cutting a house into an L or a U increases perimeter, which increases foundation, wall, insulation, and heat loss at once. This is the mechanism behind a figure people find surprising: a simple single-level plan on a flat valley lot can come in near $225 per square foot, while foothills sites with steep grade and high detail regularly run above $450 per square foot. Simplicity is worth real money, which is not an argument for a box. It is an argument for spending your complexity budget on one or two moves you will see every day rather than scattering it across an elevation.
Storey count, ceiling height, and how much glass
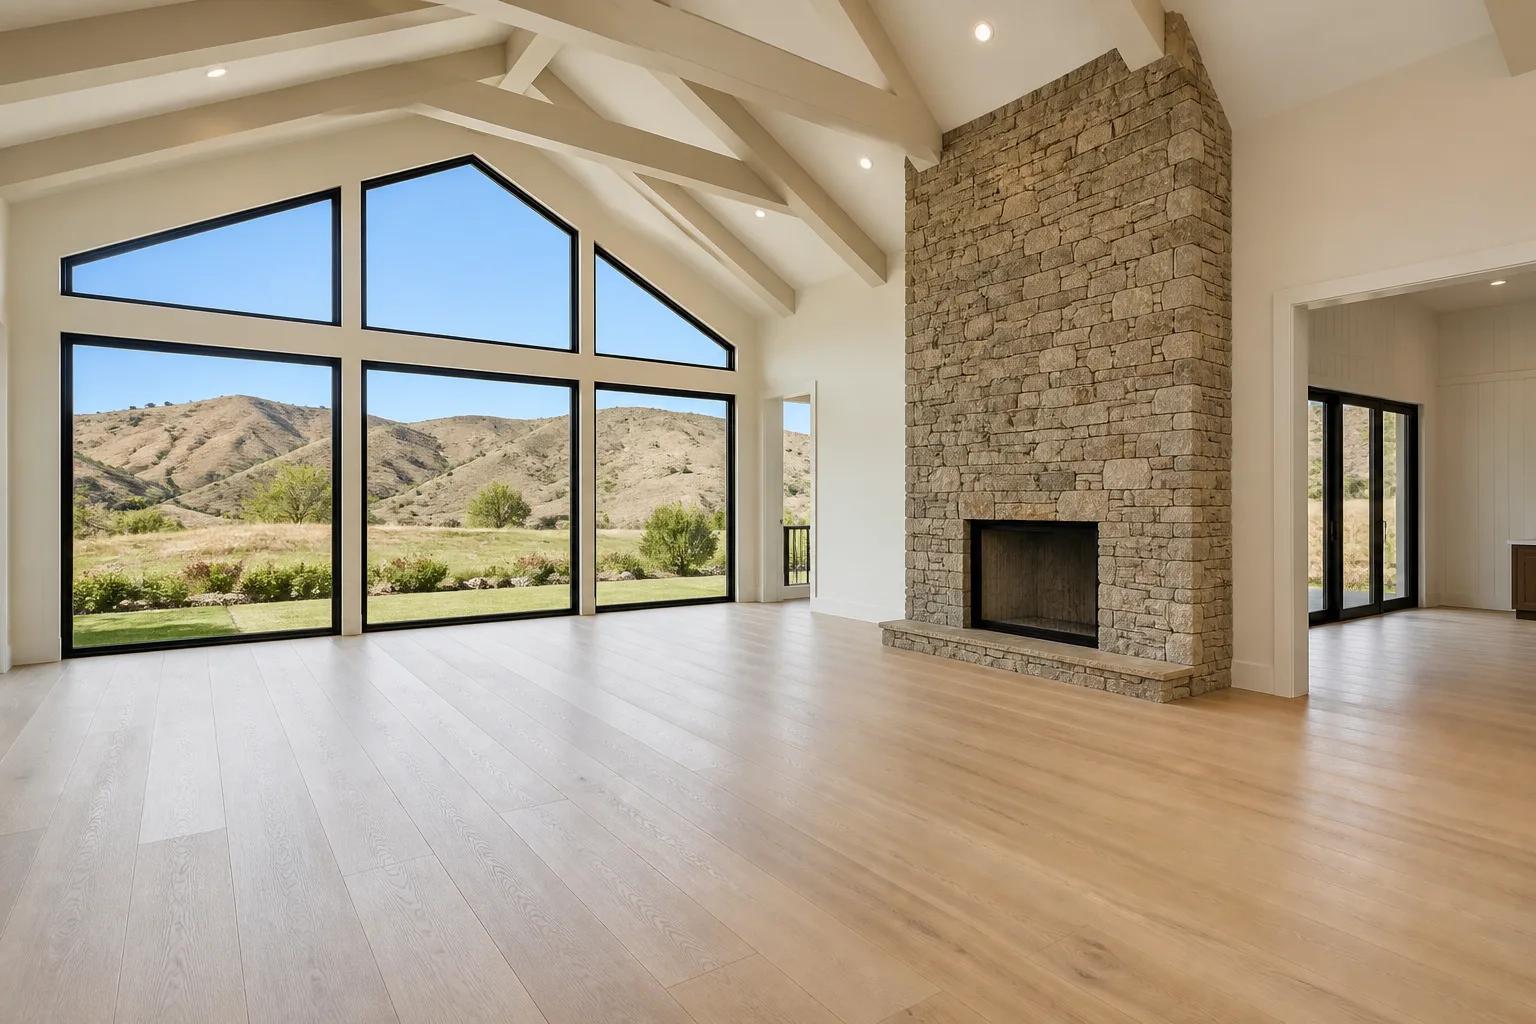
A second storey lowers cost per finished square foot because one foundation and one roof cover twice the area, while ceiling height and window area raise it without adding a single usable square foot. Those three belong together because they set the volume of the house, and volume drives structure, glazing, and mechanical load. Storey count is usually settled by the lot: a single storey of a given size needs roughly double the footprint, and on a serviced lot in Meridian or Nampa the buildable envelope often makes that impossible, or possible only by giving up the back yard. We work the trade through in single story vs two story. Ceiling height is a different kind of decision, because it is a pure purchase of feel. Going from eight to nine or ten foot plates costs taller studs, taller drywall, more paint, longer window units, and more mechanical load, and adds nothing you can stand on. It is often worth it anyway in a main living space, but it should be a deliberate buy rather than a default carried over from a plan you liked, and vaulted volume is the expensive version of the same purchase. Glass follows the same logic. It is the weakest part of any wall thermally and the most expensive per square foot, so put it where it does work: framing a view, lighting a room used in daylight, or catching winter sun on a south face.
The kitchen is the highest-value room to get right
Of all the rooms in a custom home, the kitchen returns the most for careful design attention, because it absorbs the most daily use and the most budget per square foot. Get the working geometry right first. The distances between the refrigerator, the sink, and the range should be short and uninterrupted, and no through-route in the house should cross them, a single test that catches most bad kitchen plans. Open plan should mean the cook can see and hear the room, not that the kitchen becomes the hallway. An island positioned as a boundary rather than a centrepiece fixes most circulation problems, with enough clearance on the working side that two people can pass. Then design the support: a walk-in or walk-through pantry that takes the grocery load off the counters, a landing surface on both sides of the range and beside the refrigerator, drawers rather than low cupboards for anything heavy, and a range hood ducted outside rather than a recirculating unit. Lighting is settled at electrical rough-in, the last convenient moment: layered light, task light at the counter edge, and switching that makes sense at both entrances. Almost all of that is free at design and awkward later, while countertop material can be changed in fifteen years.
Where the primary suite goes
Put the primary suite on the opposite side of the plan from the other bedrooms if quiet is the priority, close to them if you have young children, and on the main floor if you intend to stay. This is the plan decision clients revisit most, because the right answer depends on the phase of life you are in when you draw it, and you will live through the next phase in the same house. A split plan is excellent with teenagers and difficult with a two year old. The arrangement that survives both is a main-floor suite with the other bedrooms upstairs, which keeps daily living on one level without paying for a full single-storey footprint. Wherever it lands, protect it from machinery noise. Do not share the headboard wall with a laundry, a garage, a stair, or a bathroom wet wall, and think hard about an east-facing window, because in June the sun here is bright well before five. Inside the suite, spend on a bathroom layout that works without a traffic jam at seven in the morning and a closet sized honestly. Everything else there is finish. In the rest of the bedroom wing, egress-compliant windows and real closets matter more than size, because a room without either is hard to call a bedroom when you sell.
Laundry, mudroom, and storage: the rooms people under-plan
The rooms nobody photographs are the rooms that decide whether a house feels organised or chaotic, and they are the first things cut when a plan gets trimmed. The mudroom is the clearest example. The garage to mudroom to kitchen path is the most heavily used route in the house, and a mudroom that is really a wide hallway with hooks fails at the job, because the point of the room is somewhere to stop and unload without blocking the only way in. Give it a bench, closed shoe storage, hanging space that fits winter coats, an outlet, and a landing surface for groceries. On acreage in Kuna, Star, or Middleton it also takes gravel dust and irrigation mud, so a floor you can mop matters. Putting the laundry in the mudroom is efficient and noisy, and a separate laundry opening off the mudroom costs a few square feet and is usually the better call. Size it for folding, not just for machines, and add a sink and a hanging rod while both are free. Then storage, which people underestimate because it is invisible on a plan. Write down what you own with dimensions, from bikes and camping gear to snow tyres and food storage. Storage designed in costs cabinet money. Storage discovered later costs a garage bay.
Size the garage for what you actually park in it
Garage depth is close to free at design and impossible to add later, and in this valley it is the dimension most stock plans get wrong. A crew-cab full-size pickup is longer than a standard bay, and plenty of households here have one. Add a workbench along the back wall, a chest freezer, or shelving, and the door will not close on a truck that fit before. Specify depth first, then width, because a bay drawn to the minimum means opening a car door into a post. If a third bay is in the budget, decide honestly what it is for. If the answer is a trailer or a shop bench, size it for that. If the answer is storage, a deeper two-bay garage plus real storage inside the house usually serves you better and costs less. Two more free decisions while the plan is open: run conduit and a dedicated circuit for vehicle charging even if you do not need it yet, and decide whether the garage is insulated, because an attached garage sharing walls and a ceiling with living space is part of your thermal envelope whether you treat it that way or not.
Covered outdoor living earns its cost here
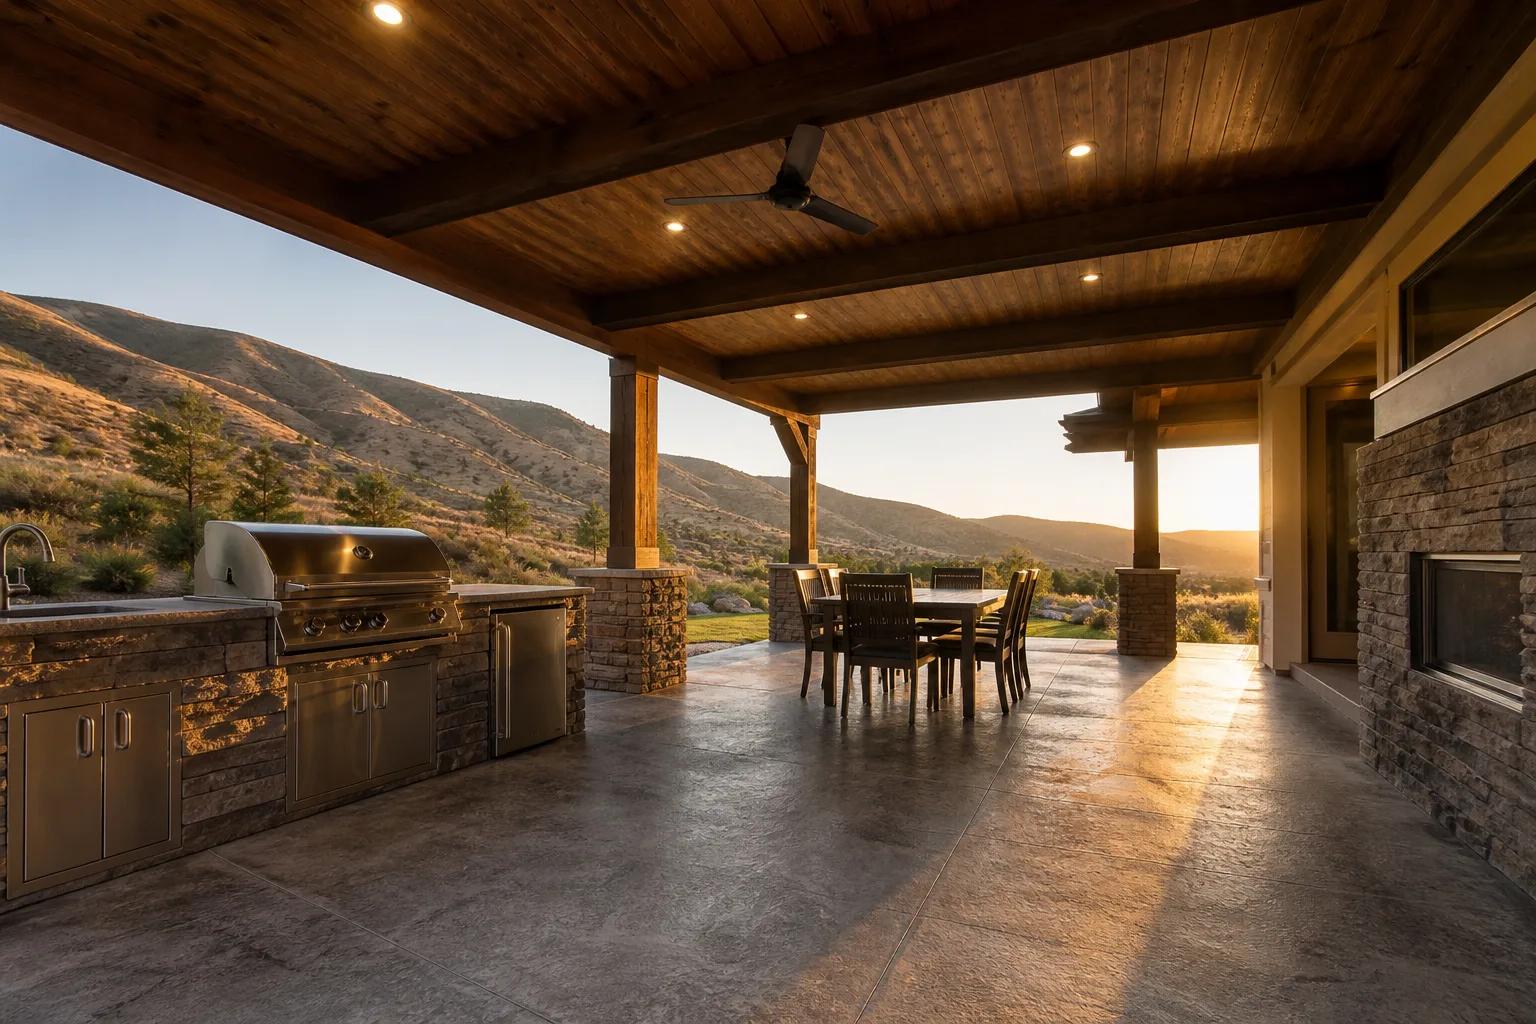
A covered patio is the cheapest square footage in a Treasure Valley house per hour of use, and it has to be designed with the house rather than added to it. Our summers are hot and dry and our shoulder seasons are long, so a shaded outdoor room gets used from spring through autumn if it is comfortable and almost never if it is not. Comfortable means real cover rather than a pergola that filters sun onto the table, depth enough for a table with chairs pulled out and someone walking behind them, a short route from the kitchen, and protection from the west sun that is also the direction most people want to look. Designed with the house means the roof is framed as part of the house, the ceiling is finished, the electrical and any gas line are roughed in, the drainage works, and the slab is poured to the right elevation relative to the interior floor. Bolted on afterwards, a cover costs more and rarely gets the fan, lighting, or outlets that make it usable after dark. A cover on the west face also shades the glass behind it, so it does two jobs. The detail decisions are in designing covered outdoor living into a new home.
The performance decisions are the permanent ones
Envelope, air sealing, insulation, window specification, duct routing, and equipment sizing are the closest thing to irreversible decisions in the whole project, so they belong in schematic design and not in a change order. Everything visible in a house can be replaced eventually, and what is buried in the assembly cannot. Air sealing is the cheapest performance available and is only possible while the house is open. Insulation matters more for continuity than for the number on the package. Windows carry two numbers that matter here: a U-factor governing heat loss on every elevation, and a solar heat gain coefficient that should be low on west glass and moderate on south glass. Duct routing has to be resolved during plan development, because once the trusses are set the ducts go wherever there is room, usually a vented attic that is brutally hot in July. Equipment sizing depends on the envelope you actually built, which is why oversized systems are common and why they make a house less comfortable rather than more. A high-performance home runs $275 to $425 per finished square foot excluding land, and the upgrade over a code-minimum build of the same design is typically 3 to 8 percent, or about $20,000 to $55,000. The full method is in building an energy-efficient home in Boise, and the service page is energy-efficient homes.
Designing for aging in place and for more than one generation
The features that let a house work for an eighty year old or for three generations cost almost nothing to draw and a great deal to add later, so decide about them during schematic design even if the need is twenty years away. The cheap version of aging in place is not grab bars and a ramp. It is a main-floor bedroom and full bathroom, doorways and hallways with enough clear width, a zero-step entry somewhere in the house, a curbless shower, blocking in the bathroom walls for future grab bars, lever handles, and switch heights that suit someone seated. Every item there is a framing or drawing decision worth a few hundred dollars now. The multigenerational version applies the same instinct to a whole suite: a ground-floor bedroom with a full bathroom, a door that closes off a wing, sound separation in the shared walls, and ideally a second entrance. Both cases are covered in building a home you can age in and designing a home for multiple generations.
ADUs and shop homes instead of a bigger main house
If the reason you are adding square footage is a guest, a parent, a rental, or a workshop, a separate structure is often a better answer than a larger main house. An accessory dwelling unit gives you genuine separation, which a spare bedroom never does, and it can generate income or house family without either party living in the other's kitchen. What is permitted varies by jurisdiction across Ada and Canyon County, and utility connections and parking requirements can drive the decision. The numbers and rules are in ADU cost in Boise. A shop home or barndominium is a different trade. Because a large share of the building is unfinished shop space, the blended cost runs $150 to $250 per square foot, and a 1,600 square foot living area with a 1,200 square foot shop commonly lands between $265,000 and $500,000 excluding land. The blend is lower because shop space is not finished space, not because finished space got cheaper. For someone who needs a workshop or room for a trade, it is an efficient way to buy both. For someone who just wants a cheaper house, it usually is not. See shop homes and barndominiums in Idaho for the honest version.
Stock plan, custom plan, or a modified stock plan
A stock plan is the cheapest and fastest route, a custom plan costs more and takes longer but fits your lot and your household, and a heavily modified stock plan frequently ends up costing as much as a custom plan while fitting less well. That middle case is the one to watch. Buying a plan for a modest fee looks like a saving right up to the point where you move the garage, change the roof, adapt the foundation to your grade, and re-engineer the framing, at which point you have paid a designer to redraw most of a house that was never drawn for your site. Modifying a stock plan makes sense when the changes are contained, like swapping a den for a bedroom or adjusting window placement for sun, and stops making sense once you touch the exterior walls or the roof. A custom plan is the right call on a difficult site, a steep foothills parcel, or a household with requirements no catalogue plan anticipated. Either way, design and engineering runs 5 to 12 percent of construction cost, roughly $9,000 to $35,000, and a permit set still needs engineering and coordination to clear Ada or Canyon County review. A middle product exists too: start from a plan library and personalise it inside defined limits, which is what semi-custom homes are for. How we run the drawing stage is on home plans and design.
Selections, allowances, and the calendar that drives the schedule
Finish selections feel like the fun part of design, but they are really a logistics problem, and the selections calendar drives the construction schedule more than any other client-controlled factor. Items have to be ordered in the sequence trades need them, and lead times mean the decision date is often weeks or months ahead of the install date. Windows and exterior materials are needed before the house is dried in, and cabinets are measured and ordered while framing is still exposed. Plumbing fixtures affect rough-in, so a freestanding tub chosen after the slab is poured is a problem. Tile, paint, and hardware can wait. A good builder gives you a dated selections schedule at the start, because a late cabinet decision does not delay cabinets by two weeks, it delays cabinets, then countertops, then backsplash, then final plumbing, then occupancy. Allowances are the financial half of the same subject. An allowance is a placeholder for an item you have not chosen, and what makes it useful is whether it reflects what that item costs here. We set allowances at real local numbers rather than a figure picked to win a bid, which sometimes makes our total look higher at proposal and almost always makes it more accurate at the end. Read how allowances work in a new home contract and choosing finishes for a new home before you sign anything with a long allowance list.
Where to spend, and where to save
Spend on what is permanent and invisible, save on what is visible and replaceable, because that is the only rule that holds across every budget we have worked with. The spend list is short: plan geometry, because it cannot be changed later; the envelope, meaning air sealing, insulation, and windows; duct routing and correctly sized mechanical equipment; waterproofing and flashing details you will never see; garage depth; structural provisions for a future need, such as blocking for grab bars; and the kitchen working layout. The save list is equally consistent: countertop material, backsplash tile, light fittings, plumbing fixture brands, appliances above the level you actually use, hardware, landscaping beyond what completion requires, and any square footage added because a plan looked balanced rather than because someone will use it. What we push back on is the opposite trade, which people attempt constantly: keeping the square footage and downgrading the envelope to afford it. That buys a bigger house that costs more to run for its whole life and can only be fixed by opening walls. If the budget is short, take the square footage out. It is the only lever that moves the number substantially without making the house worse.
Where to start
Design done well is mostly sequencing: read the lot, program the household, settle geometry and performance, then spend what is left of your energy on the decisions that are still cheap to change. We work through that order with clients as one accountable team from design through handover, and we put a line-item budget against the plan before anyone breaks ground. Run a size and finish level through the estimator for a working range, read how we approach a build on custom home building, or send us your lot and your list and we will tell you what fits on it.